Integrate Mailchimp with Local Express
Mailchimp is an email marketing platform that provides the tools you need to create, send, and track email campaigns to your customers and subscribers. Here’s how to connect it to your Local Express account and send campaigns.
Step 1: Install Mailchimp on Local Express
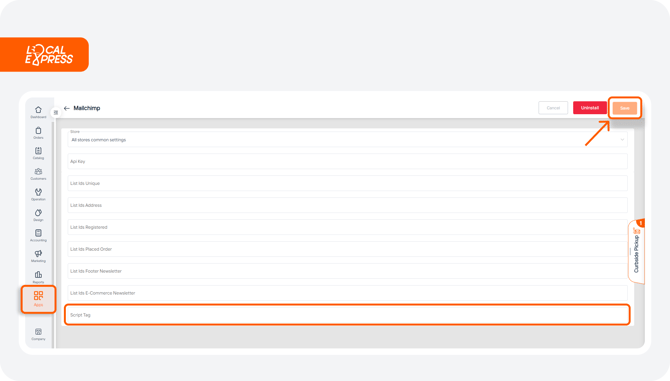
1. Go to Apps on the left sidebar of Local Express. Find Mailchimp in the app list and click Install Now. If you’ve already installed it, click Settings instead.


Step 2: Gather Required Information from Mailchimp
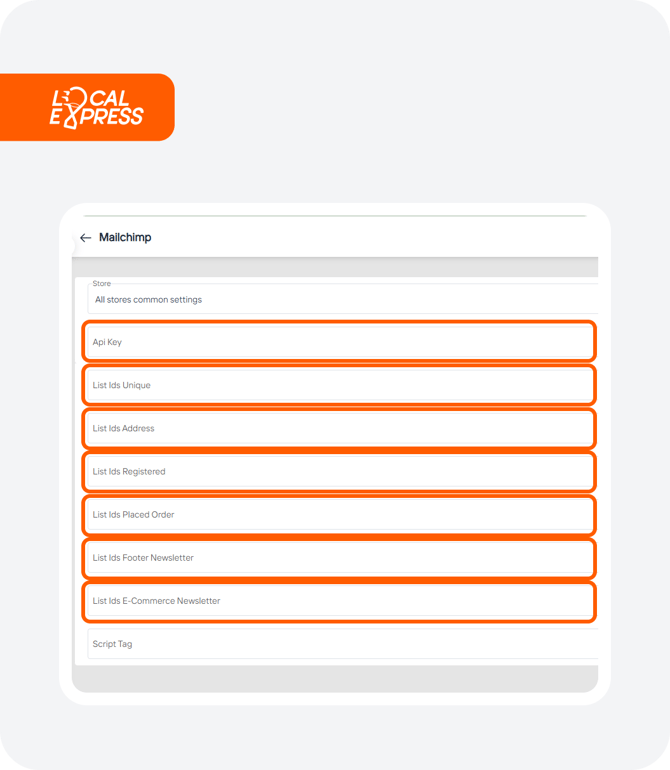
For the integration, you’ll need:
-
API Key
-
Audience ID (formerly List ID)
-
Script Tag
Follow these steps to generate each item:
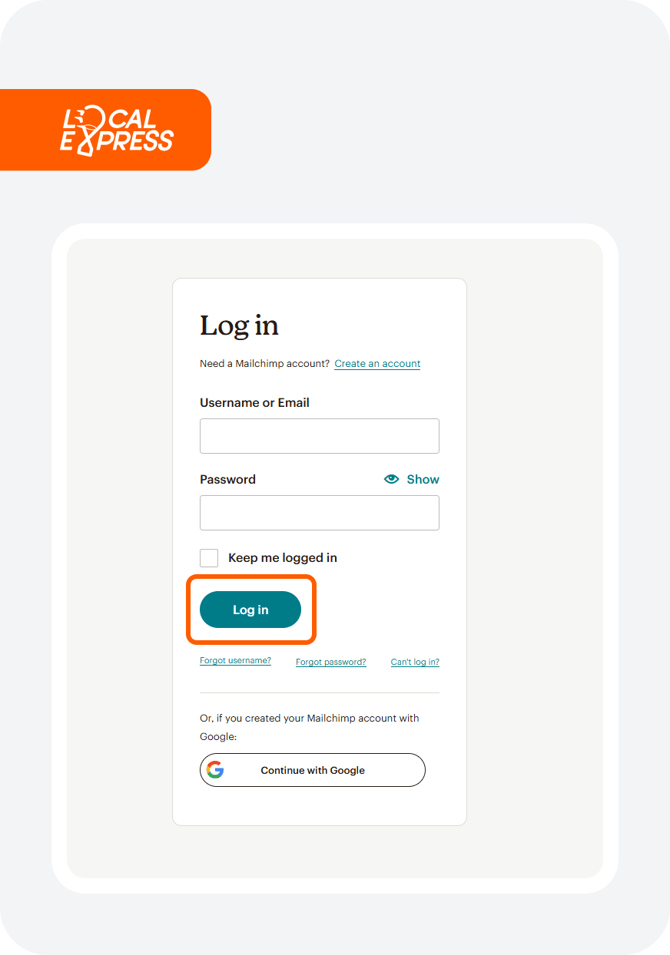
1. Log in to your Mailchimp account. You may need to verify your profile by checking your email.
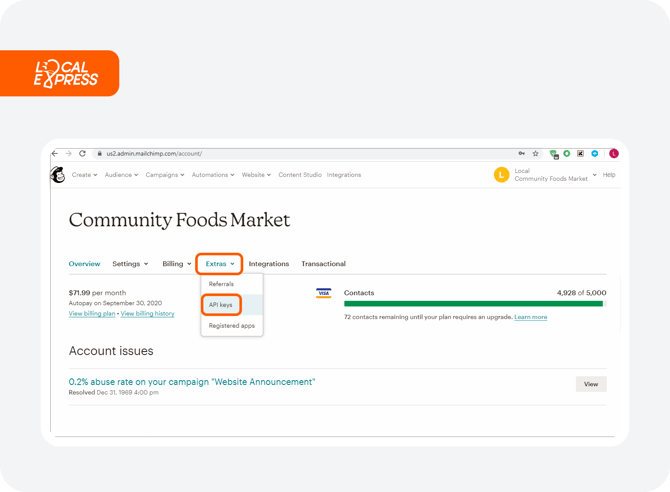
a. Go to the Account tab, open the Extras menu, and select API Keys.
b. Copy the API Key (or create a new one if needed) and paste it into your Local Express account where prompted.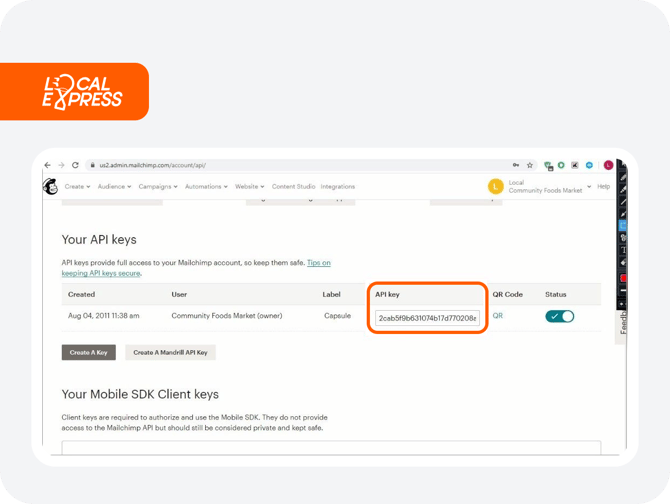

3. Find the Audience ID:
a. Go to Audience in Mailchimp and open the Audience Dashboard.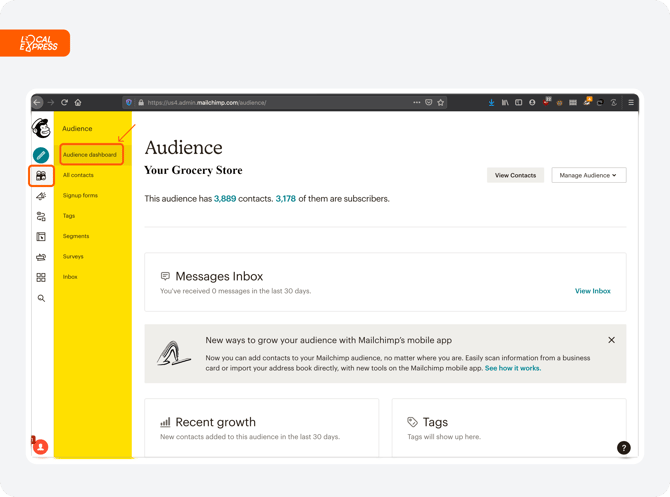
b. Click Manage Audience > Settings > Audience name and defaults.

c. Copy the Audience ID and paste it into the appropriate field in Local Express.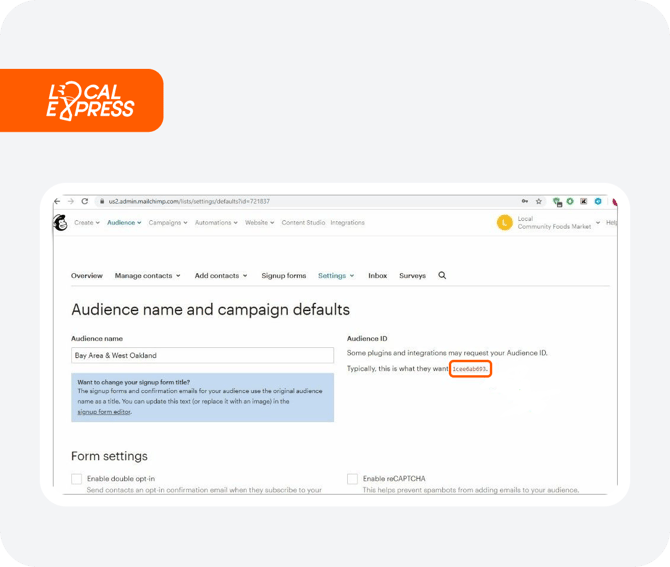
d. Generate the Script Tag:
-
Go to Account > Integrations and select Custom Website.
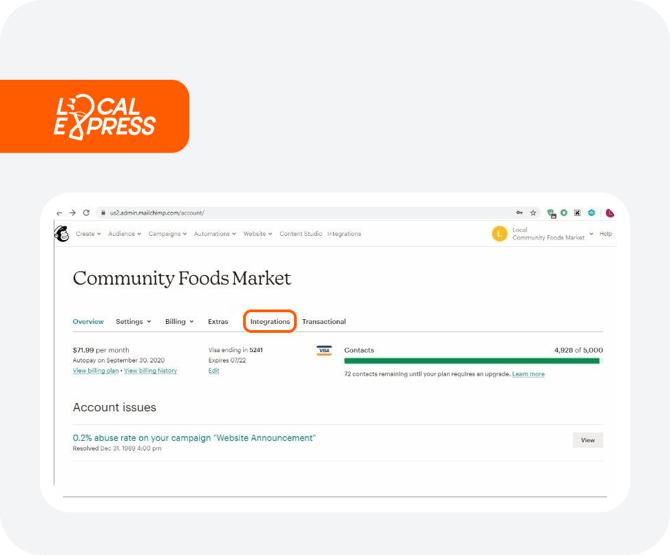
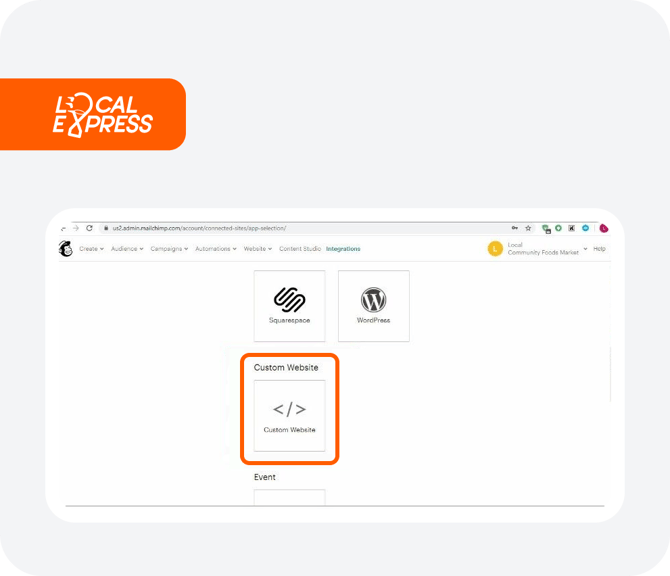
- Enter your store URL and click Get Code! A unique Script Tag will be generated for each store, so ensure you have chosen the store initially.
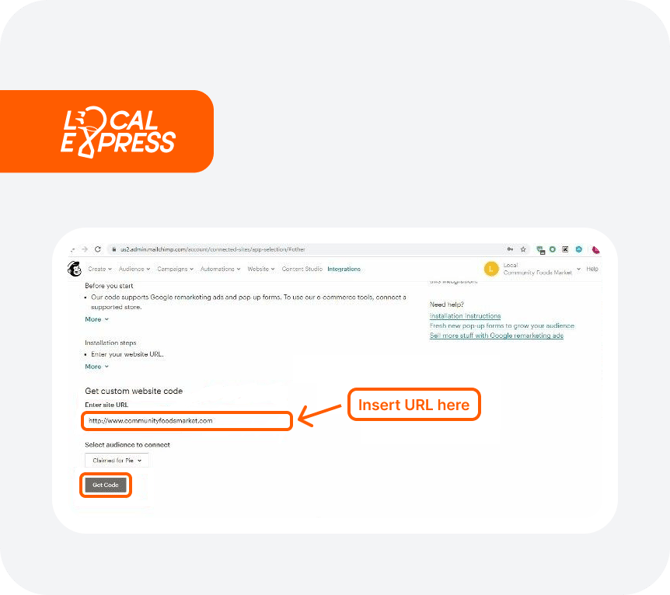
- Copy the Script Tag from the popup and paste it into Local Express. Save the changes.
