Google Play ID Verification
Welcome to the final step in setting up your Google Play Developer account! Here’s a simple guide to help you verify your identity, allowing you to start creating apps.
1. Sign in to your Gmail account - the one linked with your Google Play Developer account.
2. Look for an email titled "Google Payment."

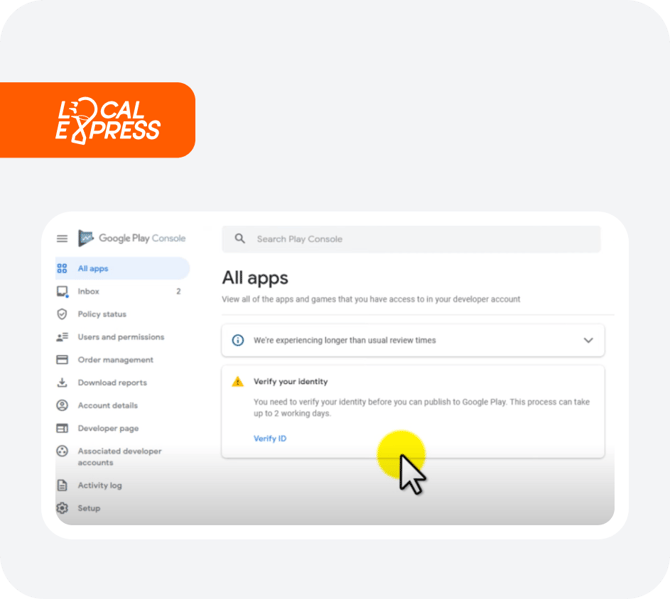
3. Open it and scroll to find and click the "Verify Now" button. If the link doesn't work, log into your Google Console, select “All Apps,” and you'll find a “Verify Your Identity” option there.
4. Go back to the Google Play Console homepage and click "Go to Play Console" at the top right corner.

5. Choose your company's name from the list, for example, "WasiSoft."
6. You'll see a page appear saying "Welcome to your new Play Console."
7. Click “Next” a few times until you see the “Use the New Play Console” button and click it.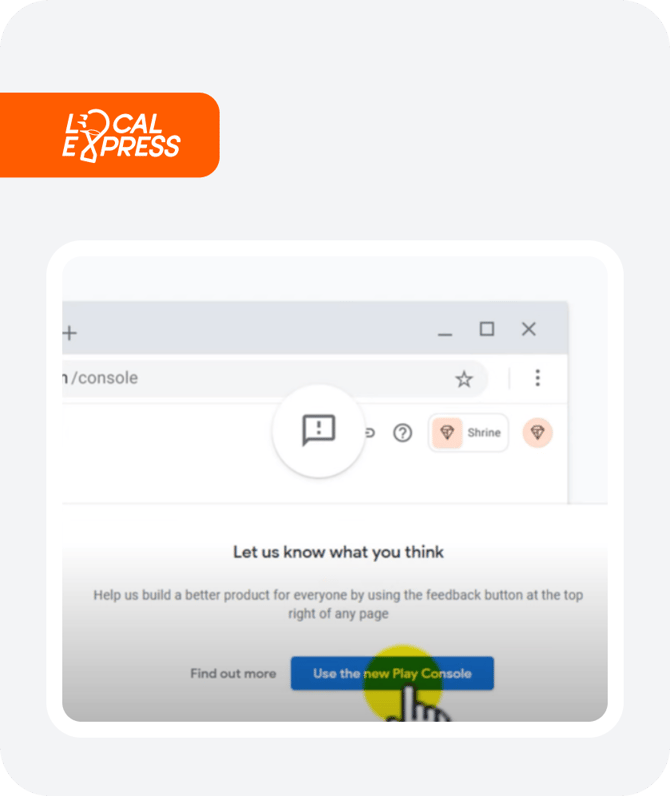
8. A page titled All Apps will appear. Select Verify ID under the “Verify your Identity” section.
9. Now click the editing icons and start filling out all the information about yourself.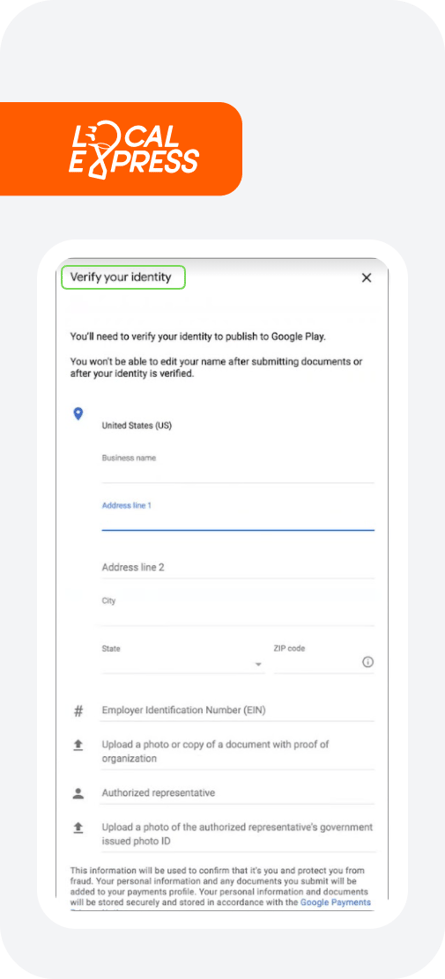
10. After entering your details, ensure your name is in CAPITAL LETTERS, and click “Submit.”

Additional Tips:
-
Photo Tips: Ensure the corners of your ID are visible in the uploaded picture; otherwise, it may not be accepted. A national ID card is recommended.
-
Location Mention: State the city where the ID was issued, not your current location.
-
For Foreign Residents: Use your residence permit instead of your passport to avoid confusion.
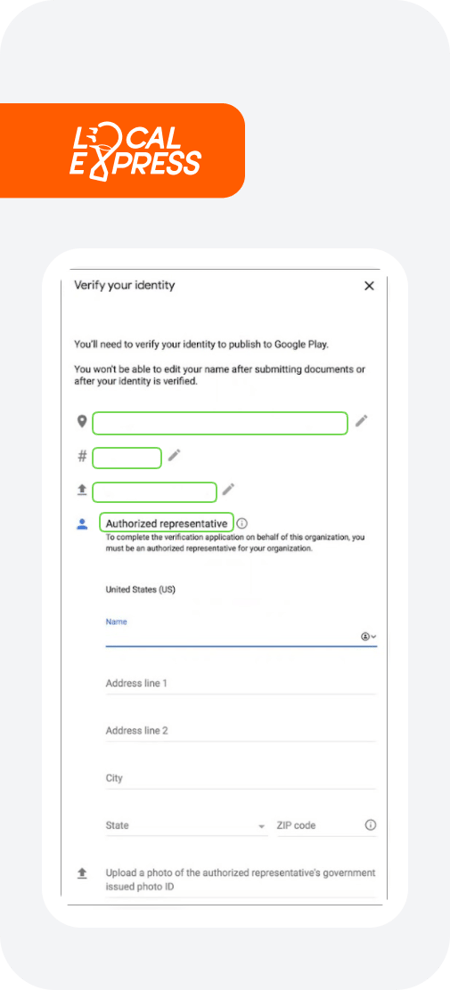

11. After submitting, you’ll see a message indicating that verification is in progress.
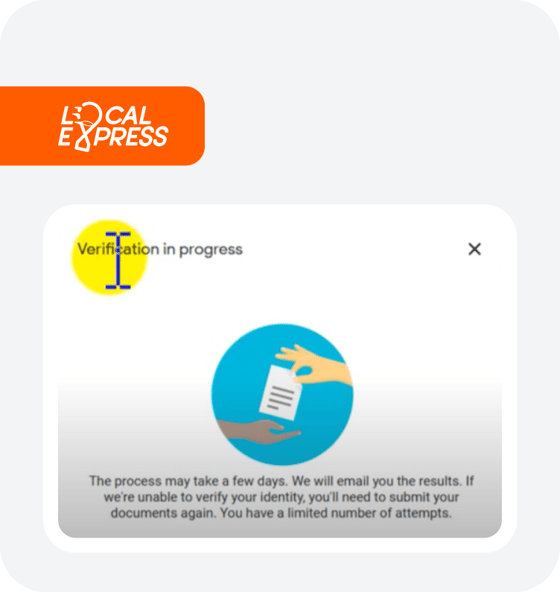
12. Look out for a confirmation email saying, "Now you can publish on Google Play."
13. Return to Google Console, go to the “All Apps” page, and refresh it.

14. Scroll down, and you should see an option to “Create App.”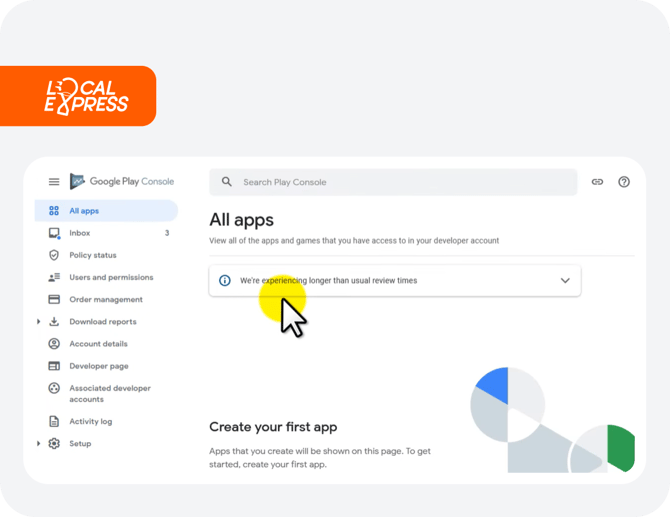
Congratulations, you’re all set to start creating apps on Google Play!
