How to Create a New Product
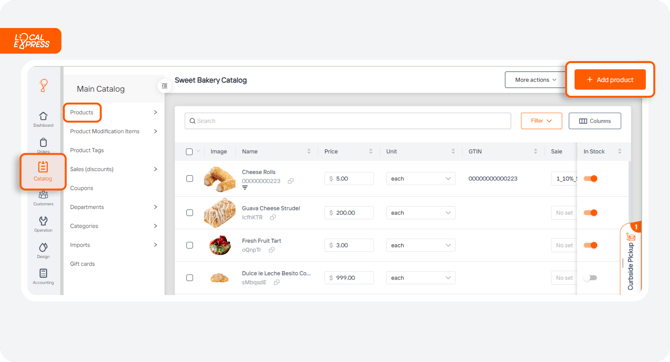
Navigate to the "Catalog" section of the partner dashboard. Navigate to the store to which you want to add a product. Click the "Add product" button.
Product Information: Once your product is created, you'll see various details under the “product” section. Here's what each part means:
-
- Name: What your product is called.
- Department Category: This shows which category your product is placed in the department. See more in “Create a Department” and “Create a Category”.
- Additional Category allows you to place your product in multiple categories and departments, making it visible in various sections.
- Tags are useful for filtering in searches prioritizing items and creating item carousels. You can create new tags if they don’t exist and decide if they should be searchable. See more in “Create a New Product Tag”.
- Preparation Time is listed in minutes, this sets how long it takes to prepare the product, often used for items like baked goods.

1. Change your product's image in the “Images” section. 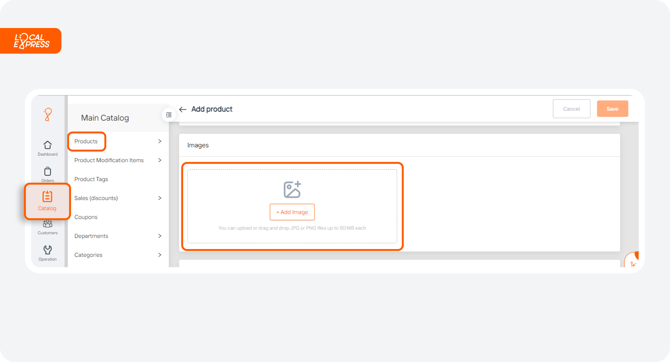
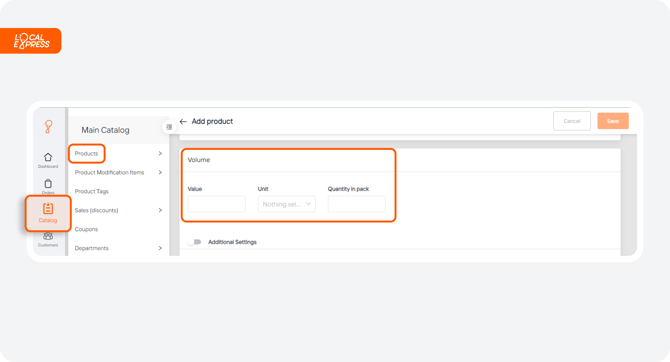
3. Additional Settings for Weighed Items: If your product is sold by weight, use this section to manage settings like initial quantity, quantity step (increment changes), and the minimum and maximum quantity limits.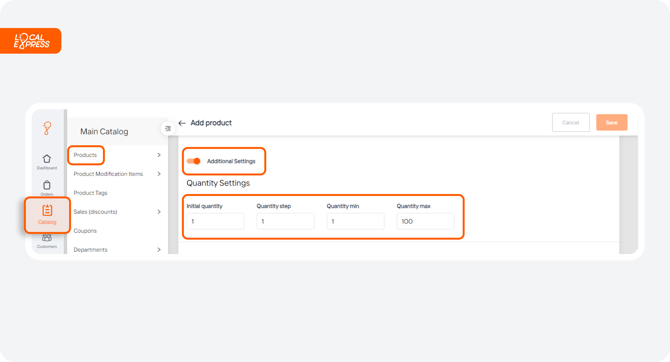
4. In the “Price” section you can set the price, define the unit (like per kg if weighed), include tax considerations, and manage discounts.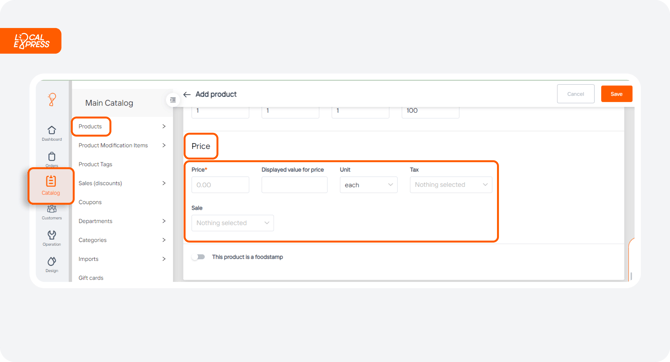
5. To enable EBT, you can mark the product as a foodstamp here.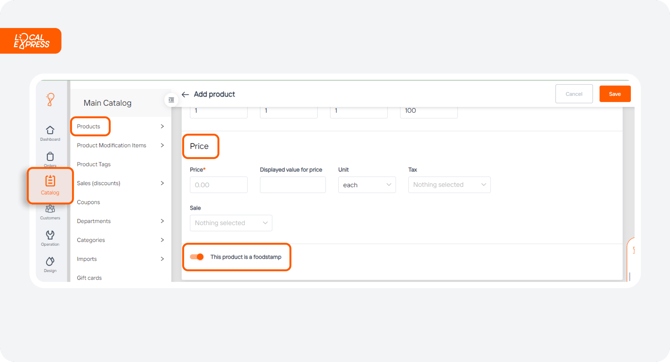
6. Product Details:
a. Information: Add descriptions, barcode, ingredients, manufacturer, brand, and even choose to display the brand in the product title.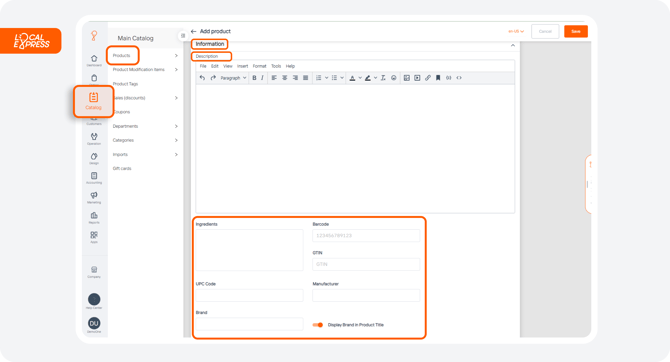

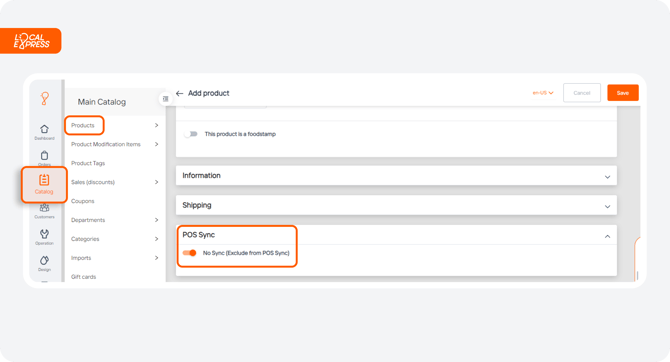
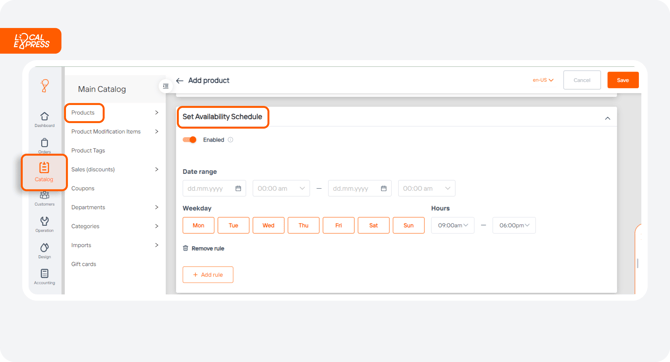
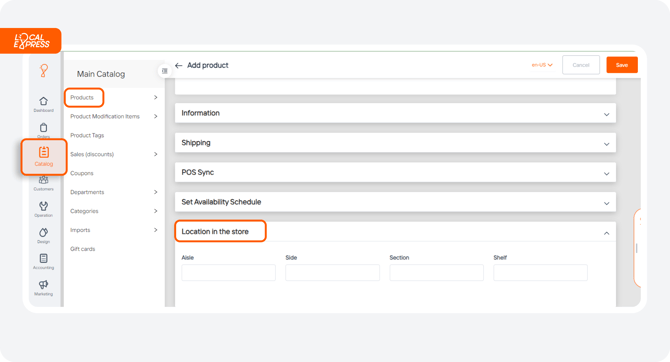
7. The “Inventory” section shows whether the product is in stock or out of stock based on the tracked quantity.
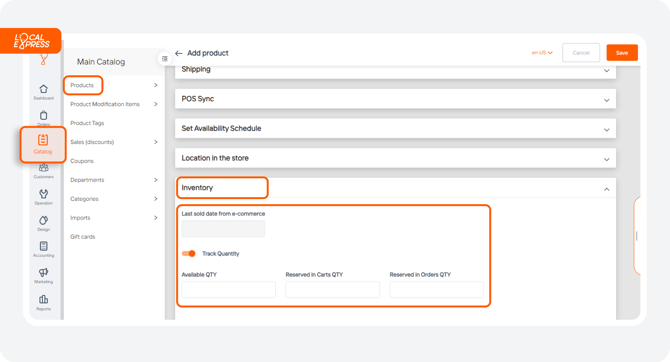
8. Save the changes.
