Create a Department
Watch the video tour to explore the guide in action and see how it works.
Our items are organized by departments and categories in the partner dashboard. Here’s how to manage them:
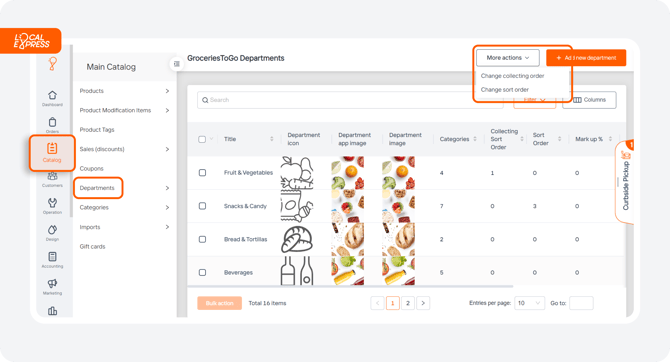
1. To add a new department, click the “Add New Department” button in the top right corner of the screen.
2. To adjust settings use the “More Actions” button to change the collection order or sort order of items.
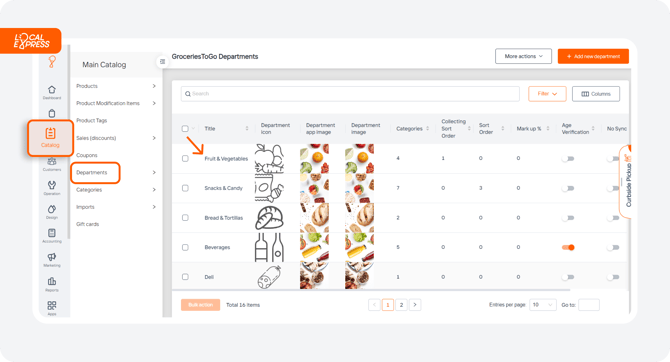
3. To view department information click on any department in the list. 
-
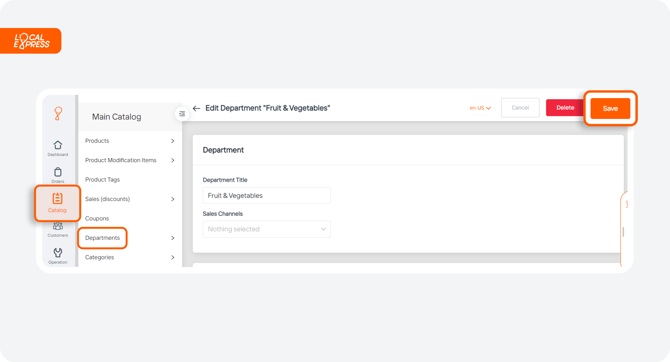
- Title & Sales Channels: The department window shows the department title and its linked sales channels. If you want the department to be visible on the online store, ensure the “Online Store” channel is selected. Choose “Nothing Selected” to hide the department and its categories from the front end.

-
- Images: This section displays the department icon and other department-related images.

-
- Department Options: Here you can set various parameters such as department markup percentage (to adjust prices), preparation time, restrictions on movement period, age verification, sync options, and display a small icon for items with modifications.

5. For “Cloud Printer” see the “Cloud printer” guide.
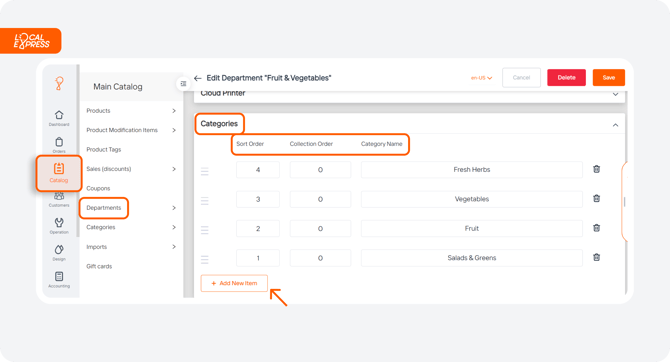
6. In the “Categories” section, you can reorder categories or add new items.

7. If you need prices rounded automatically by the system, configure this in the “Rounding Rules” section.

