Create a Category
Watch the video tour to explore the guide in action and see how it works.
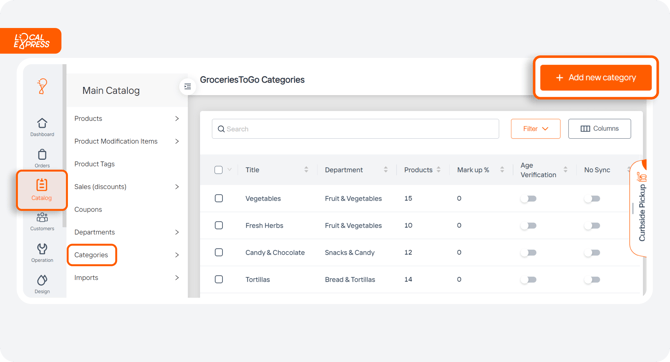
Access the Category List by going to the "Categories" section on the dashboard and selecting the specific category you want to edit.
1. To add a new category, click the “Add New Category” button in the top right corner of the screen.
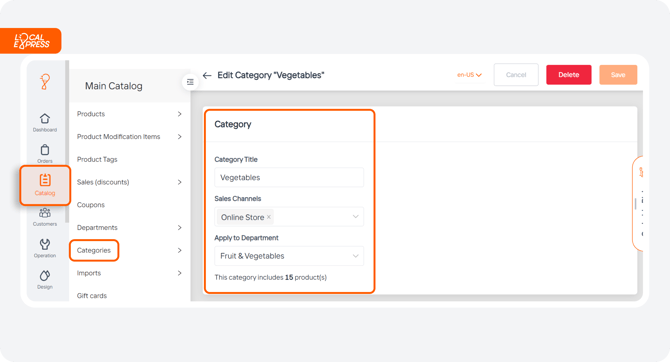
2. In the Category window, you can edit various details:
-
- Title: The name of the category.
- Sales Channels: Where the category is displayed (e.g., web, mobile).
- Department: Shows which department the category is associated with.

3. Set Category Options by adjusting settings to fit your needs:
-
- Category Markup Percentage: Allows you to increase the price within this category.
- Sort Order: The order in which items appear to customers.
- Collection Order: The order used when collecting items in web or mobile versions.
- Preparation Time: Set how long it takes to prepare items at the department level.
- Movement Restrictions: You can restrict when items can be moved.
- Age Verification: Require verification of a customer's age for certain items.
- Sync Options: Choose to enable or disable syncing.

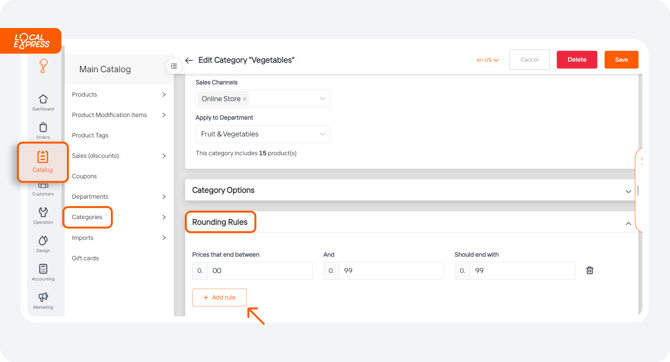
4. If you want the prices to be rounded out by the system, you can do it in the “Rounding rules”.

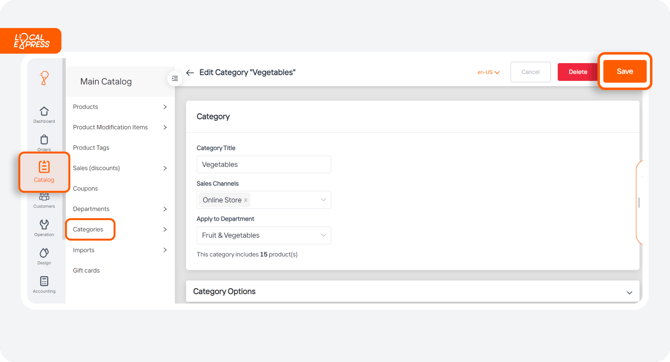
5. Click “Save” to store your settings.

